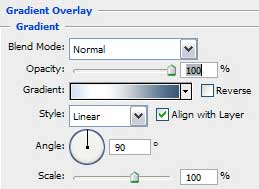
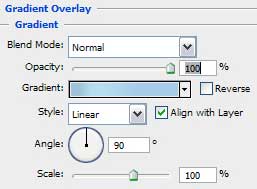
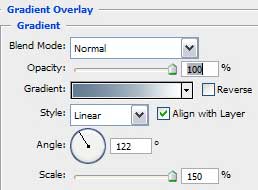
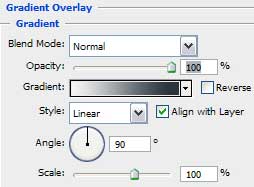
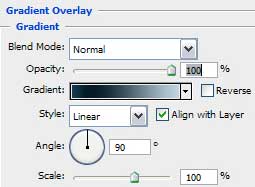
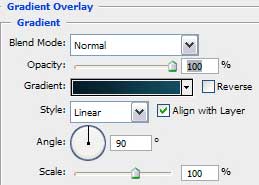
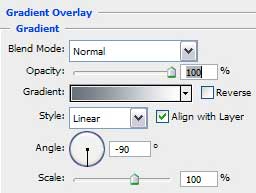
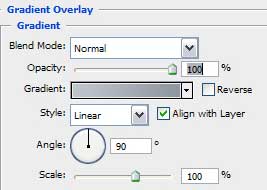
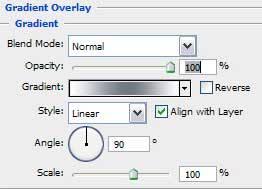
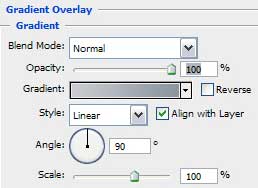
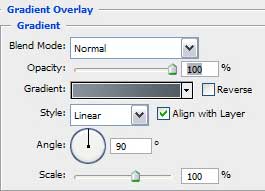
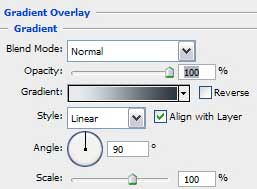
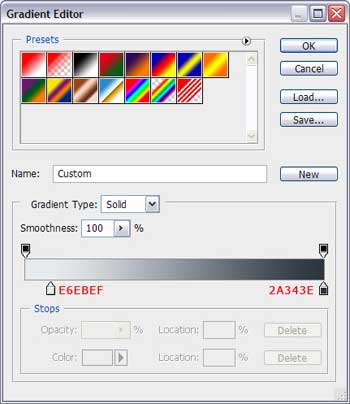
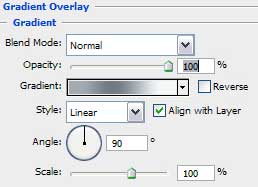
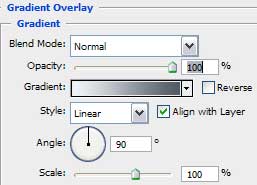
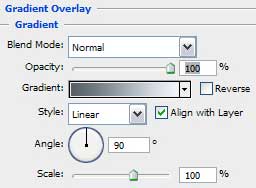
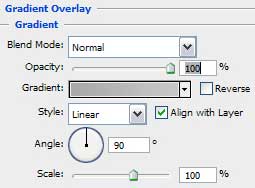
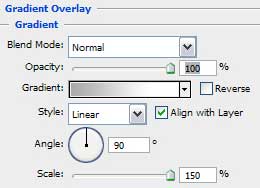
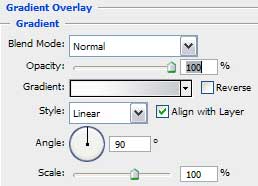
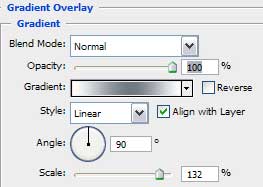
Select Blending Options>Gradient Overlay and set the parameters from below:
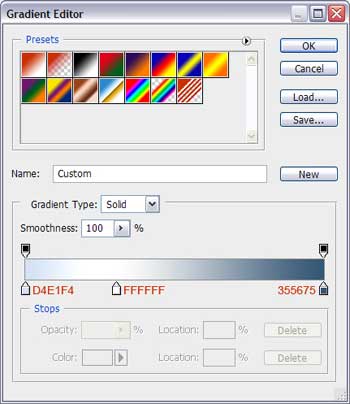
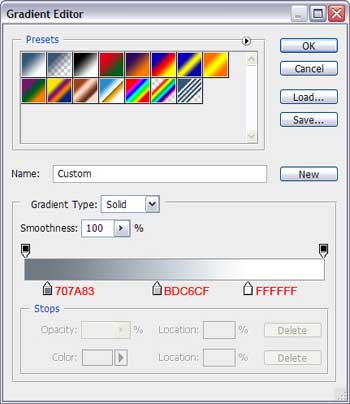
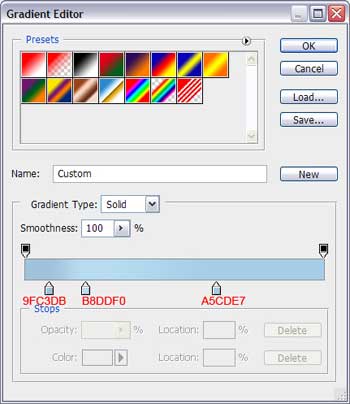
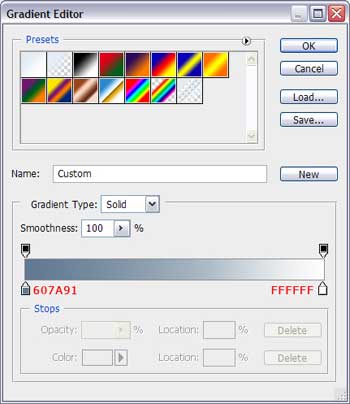
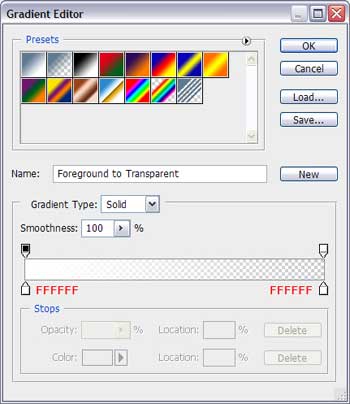
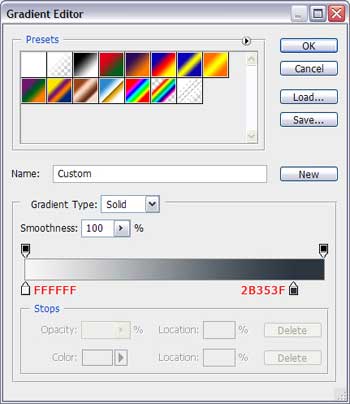
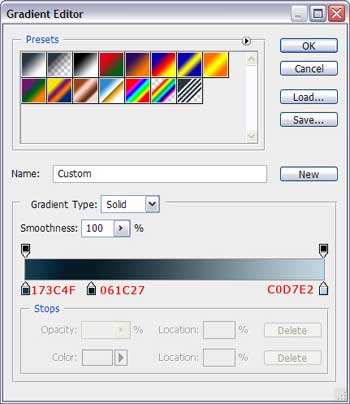
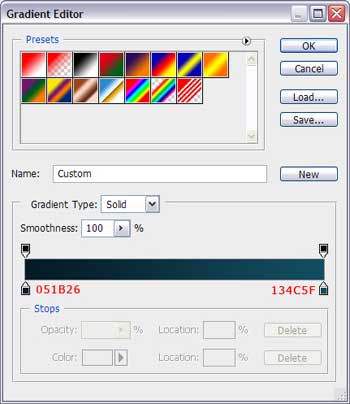
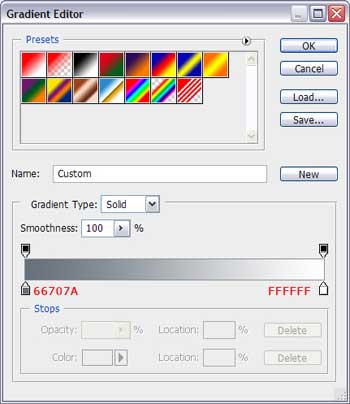
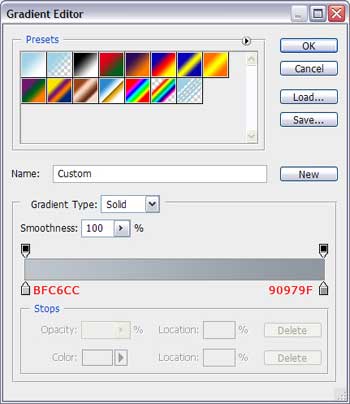
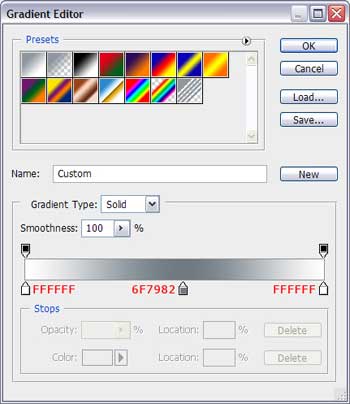
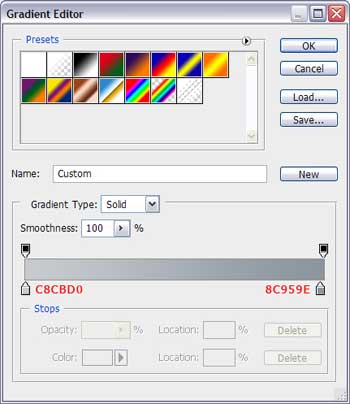
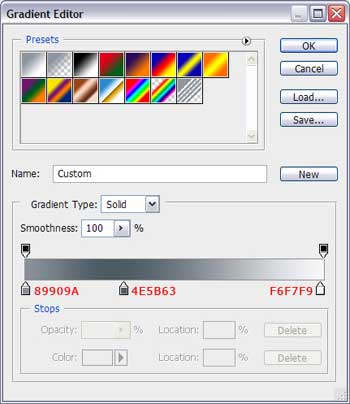
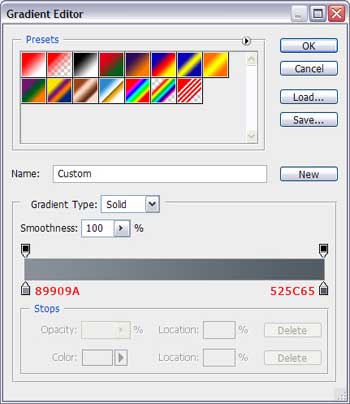
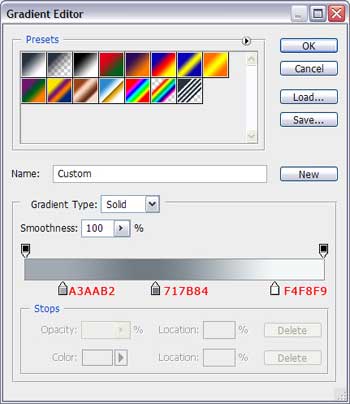
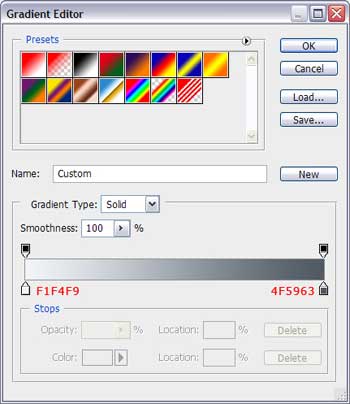
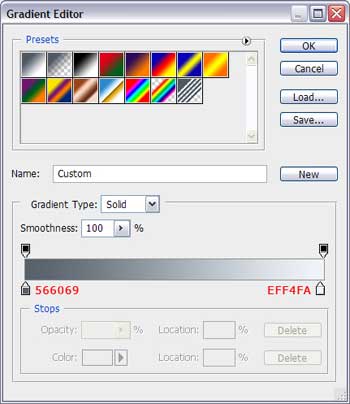
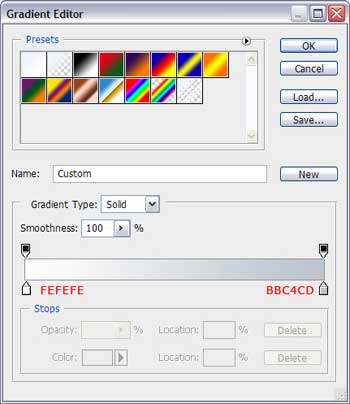
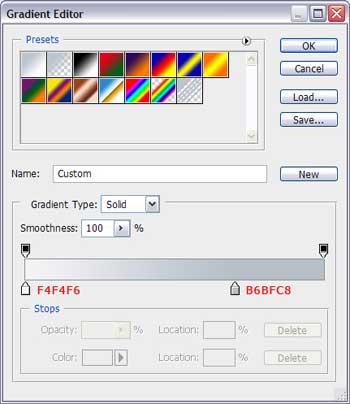
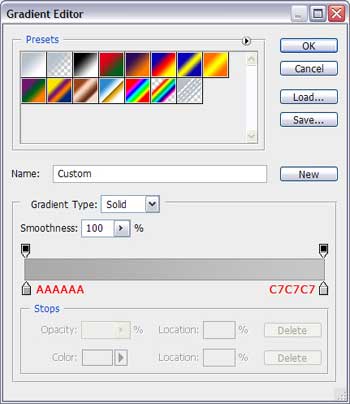
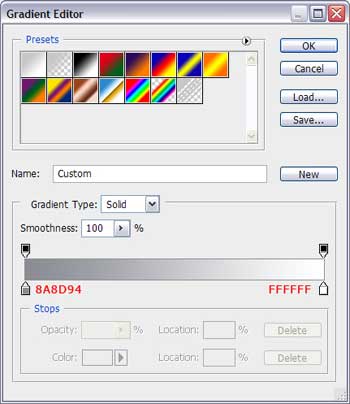
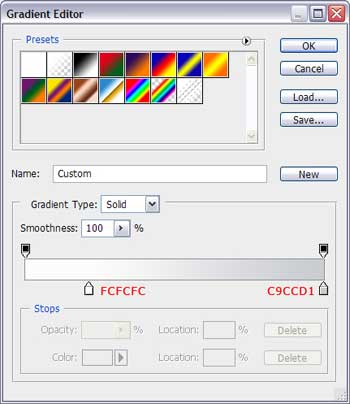
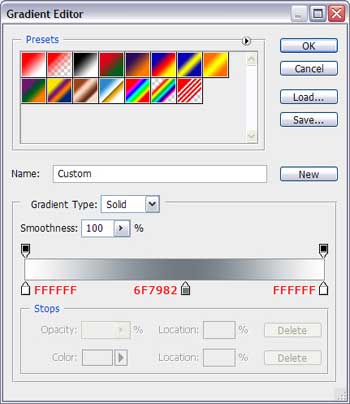
Set the gradient also, taking care of the colors’ codes shown next:
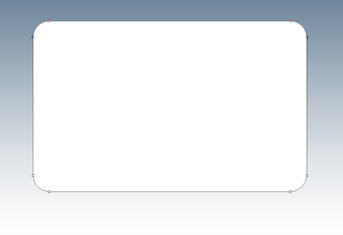
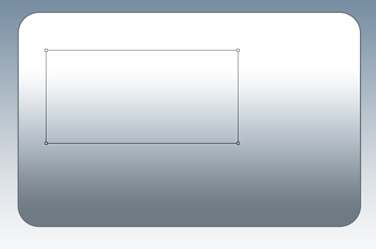
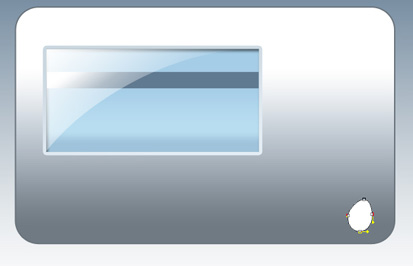
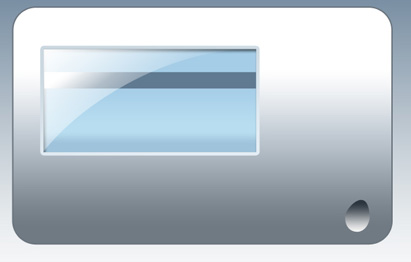
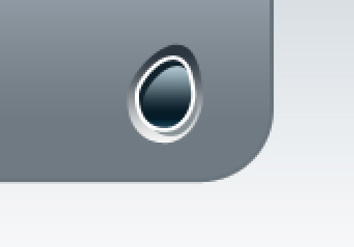
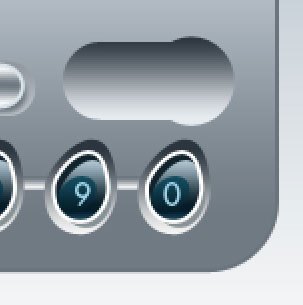
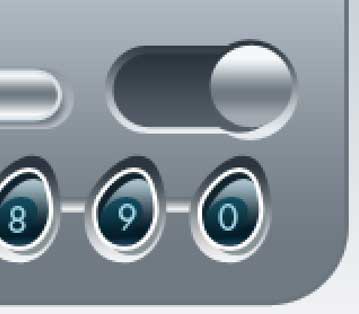
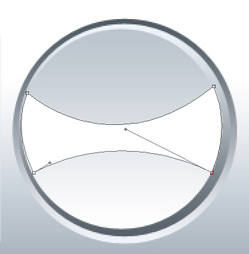
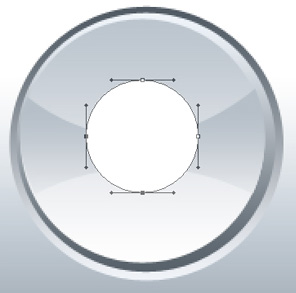
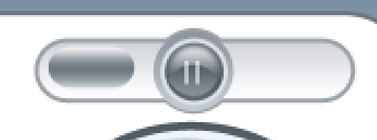
It’s the picture we should get for now:

Now we’ll try to create the corps of the player to be, so let’s choose the Rounded Rectangle Tool (U) with 35 px radius to represent a corps with rounded corners, placing it the way demonstrated below.
Make it look of metal texture. Select Blending Options>Gradient Overlay:

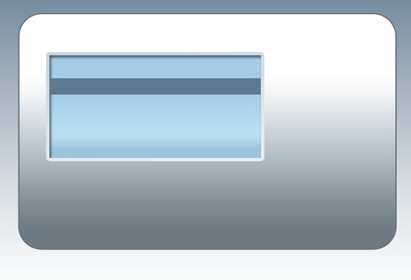
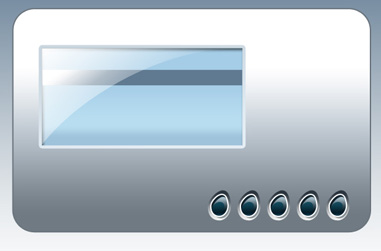
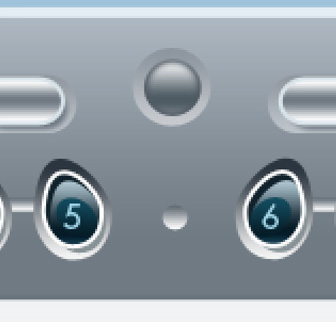
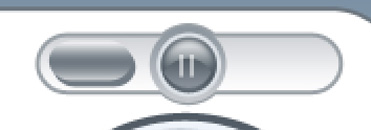
We should get the next picture:

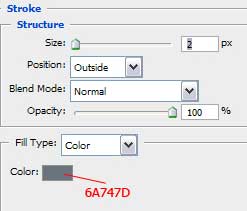
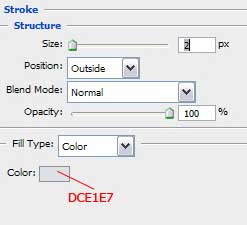
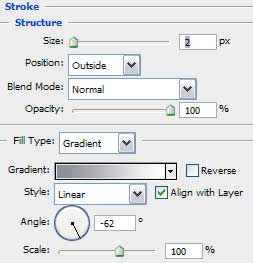
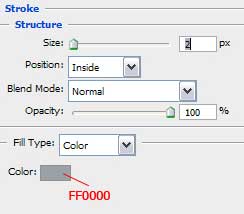
Next step we should make the corps look thicker, just for it not to let the impression of being too thin as a sheet of paper. So select Blending Options>Stroke and set the next parameters:

Using the Rectangle Tool (U), it’s possible to represent a screen. Fill 0% on the layer’s parameters:
Select Blending Options>Gradient Overlay

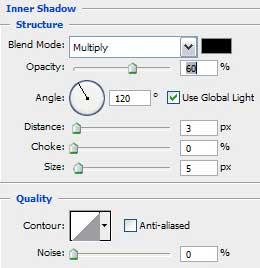
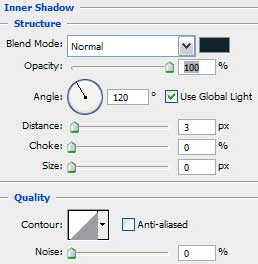
Give the volume effect to the screen with Blending Options>Inner Shadow

Blending Options>Stroke:


Using the Rectangle Tool (U) with the color #5f7990, try to make a small stripe, as the next one on the screen.
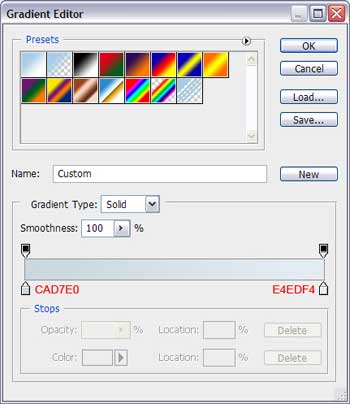
Create a small gradient with Blending Options>Gradient Overlay:
Gradient’s parameters:

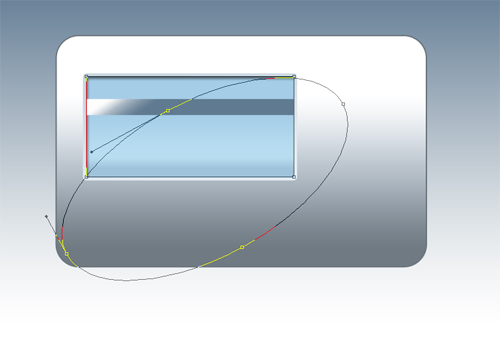
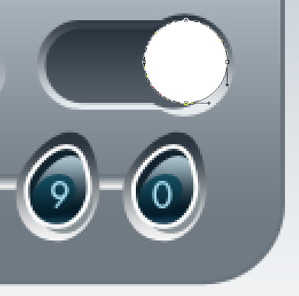
Now we should make a small flare on the screen. Make a copy of the screen’s layer and situate it above he stripe’s layer. Cancel all the Blending options and Fill 0% on the layer. After that select the Ellipse Tool (U) and press simultaneously Alt button to stretch out the roundness as the picture from below shows it:
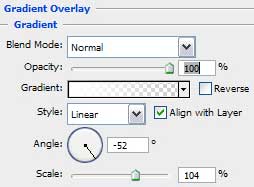
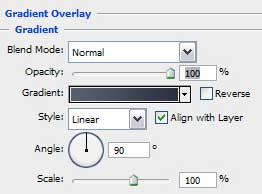
Enter the Blending Options>Gradient Overlay and set the new parameters:

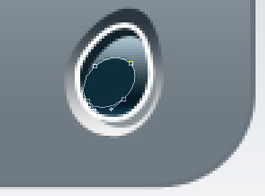
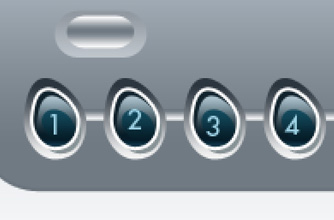
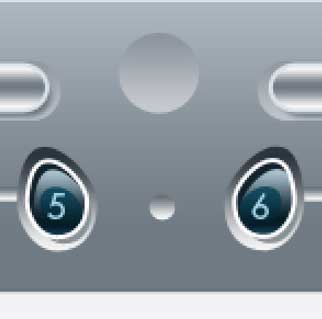
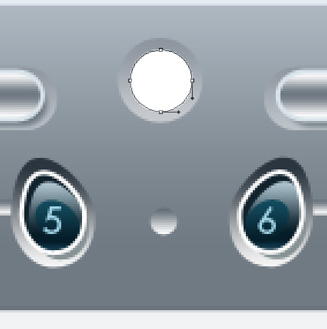
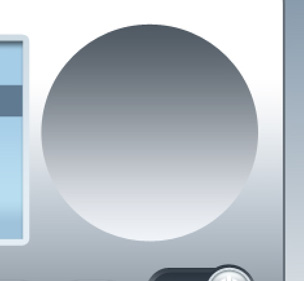
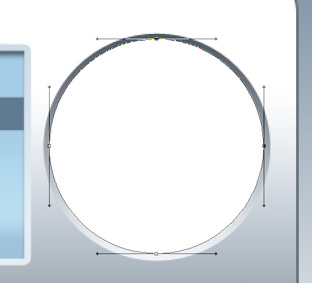
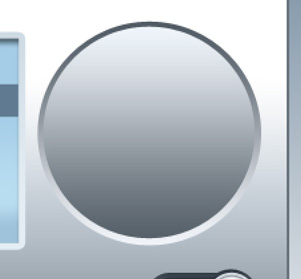
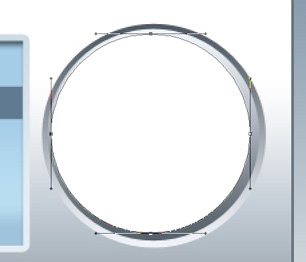
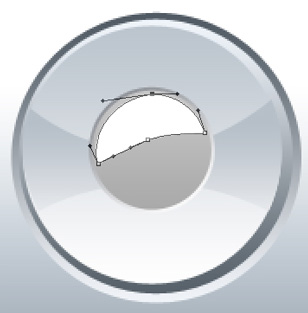
Working with the screen is finished. Let’s begin representing the buttons now. Select the Ellipse Tool (U) and picture out roundness, but we should change the placement of the upper point the way it is shown below:
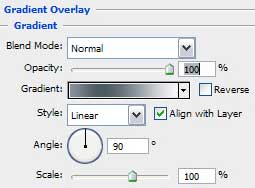
Apply the gradient for it and select Blending Options>Gradient Overlay:
Make a copy of the layer and make it smaller:
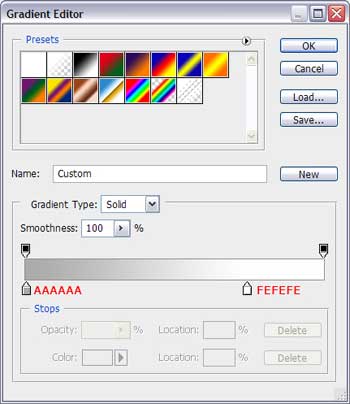
Apply the gradient also:

Next select the Blending Options>Inner Shadow:
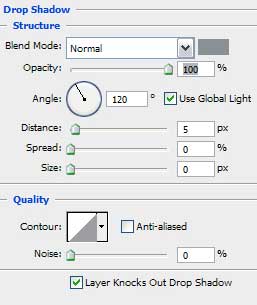
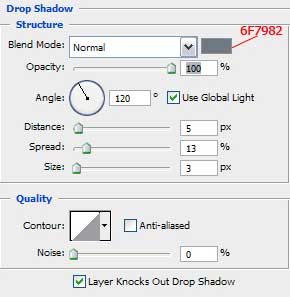
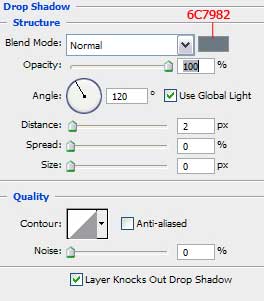
Blending Options>Drop Shadow:
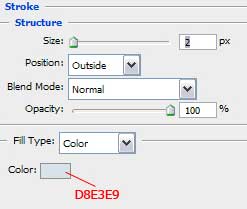
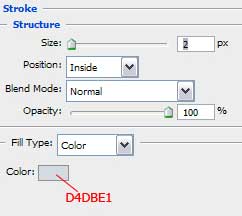
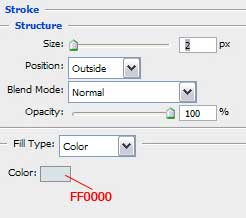
 Blending Options>Stroke:
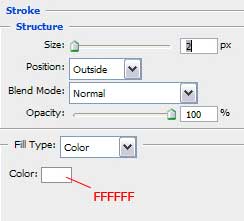
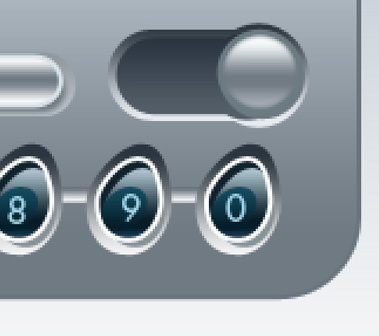
The button is finished. We have to make the flare now. Make a copy of this layer and turn it over the way it is represented next image:
Apply the gradient:

Make a copy of our button:
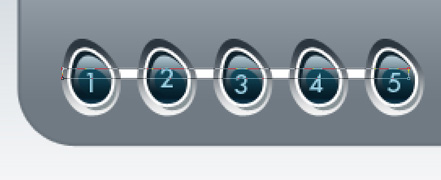
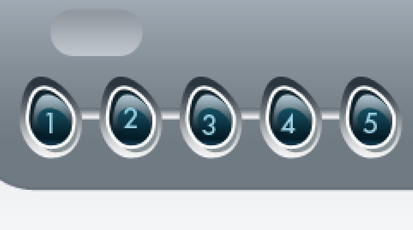
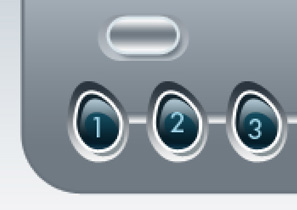
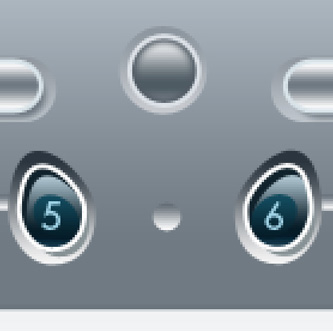
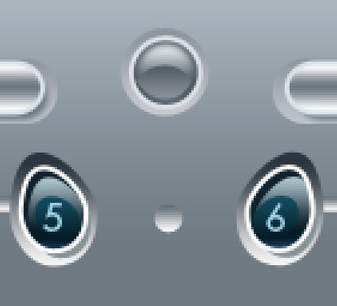
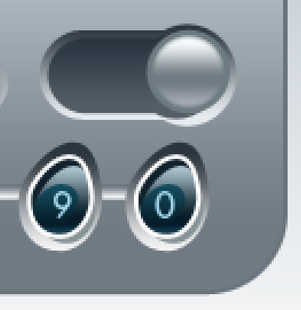
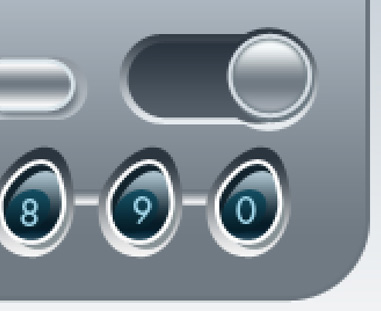
Make several copies now of the button and turn them over. Press on Free Transform option and select the Flip Horizontal:
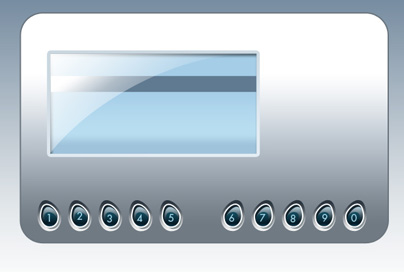
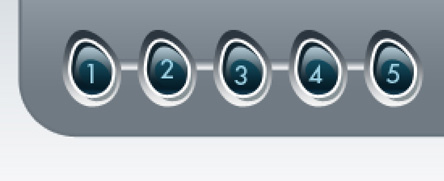
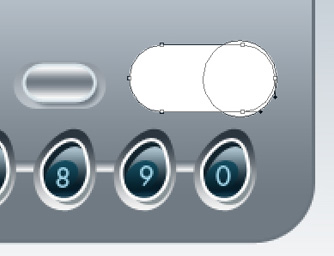
Insert the figures on the buttons now (the color’s code is #9ED1E4)
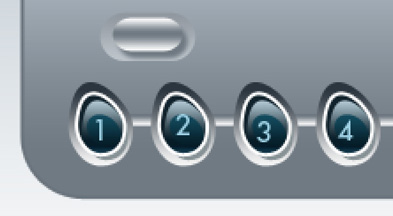
Represent now a small stripe under the buttons with the Rectangle Tool (U)
Enter the Blending Options>Gradient Overlay and set the parameters from next table:
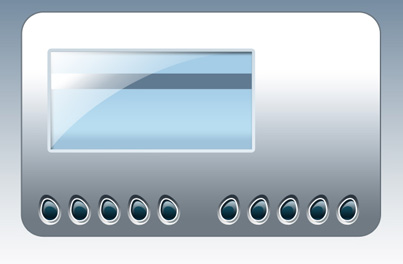
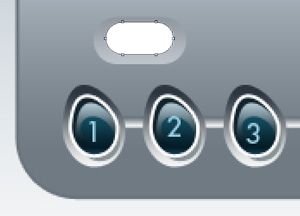
 Make a copy of the stripe and place the copy under the neighboring buttons row:
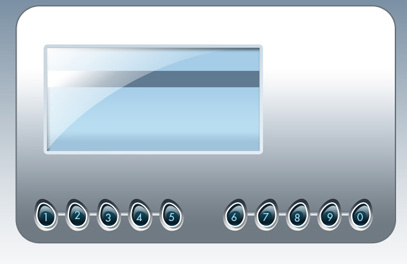
The Ellipse Tool (U) will be helpful in making roundness between the buttons’ rows with the same gradient’s parameters the stripes have:
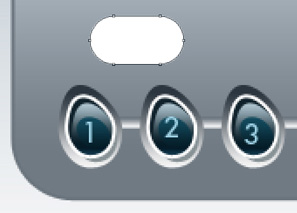
Using the Rounded Rectangle Tool (U) with 30 px, try to make one more button:
Blending Options>Gradient Overlay:
Represent one more button inside:
Blending Options>Gradient Overlay:
Blending Options>Drop Shadow:
Blending Options>Stroke:
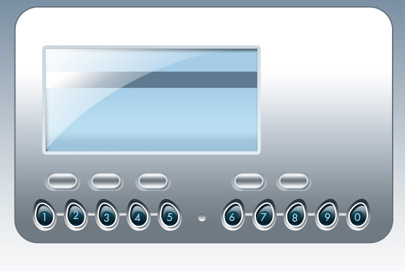
Using the copying effect, place several more buttons, the way it is represented below:
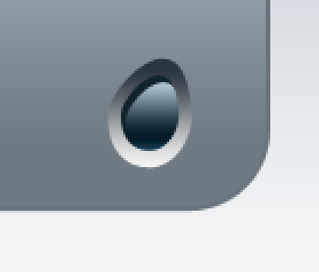
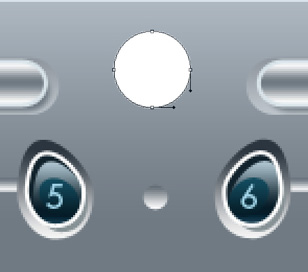
Use the Ellipse Tool (U) to create the roundness the way it is shown next image:
Blending Options>Gradient Overlay:
Make a copy of the last made roundness and make it smaller:
Blending Options>Gradient Overlay:

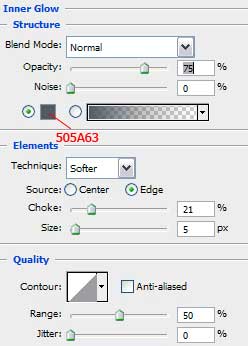
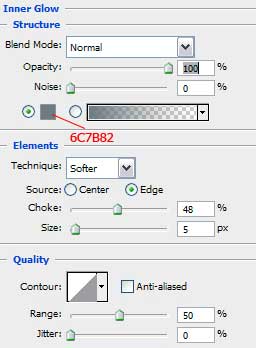
Blending Options>Inner Glow:
Blending Options>Stroke:
Choose now the Pen Tool (P) and represent an element like the next one:
Blending Options>Gradient Overlay:
Represent inside the made button a small roundness also:
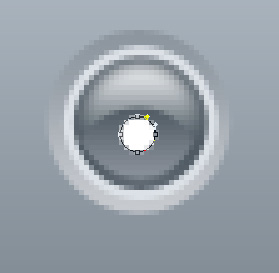
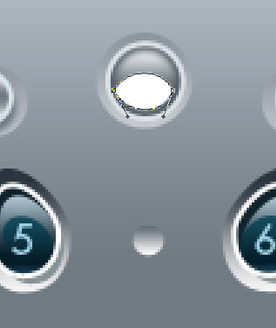
Start representing the power supply button. It’s necessary in this case to select the Rounded Rectangle Tool (U) with 30 px radius. Represent the figure by pressing the Shift button and use simultaneously the Ellipse Tool (U).
Blending Options>Gradient Overlay:
Using the same method, try to make one more figure inside the already made one:

Blending Options>Gradient Overlay:

Applying the Ellipse Tool (U) make one more roundness:
Blending Options>Gradient Overlay:
Blending Options>Inner Glow:
Blending Options>Drop Shadow:
Blending Options>Stroke:
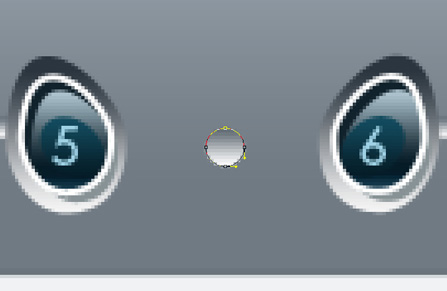
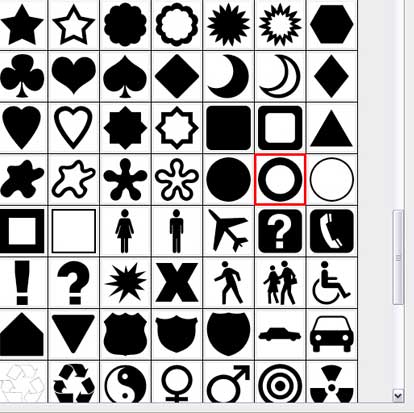
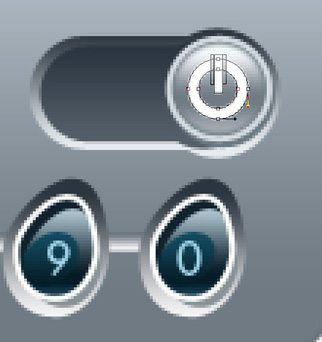
We have to picture now the power supply indicator. Select for this operation the Custom Shape Tool (U).
Choose now the Rectangle Tool (U) and press the Alt button for erasing and Shift button for adding it, try to represent the indicator the way it is shown next picture:
 Represent the Shuttle on the player. It’s necessary in this case to select the Ellipse Tool (U) and make the roundness the way it is indicated below:
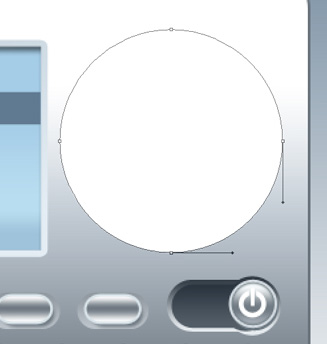
Blending Options>Gradient Overlay:
We have to represent another roundness inside the first one:
Blending Options>Gradient Overlay:
One more roundness needs to be represented and placed the way it is demonstrated next image:
Blending Options>Gradient Overlay:


Make a copy of the layer, moving the points the same way you may see below:
 Blending Options>Gradient Overlay:
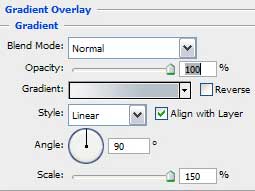

Try to represent another roundness that will be placed on the central part:
Blending Options>Gradient Overlay:

Blending Options>Stroke:

Make a copy of this layer, moving the tops the same way it is demonstrated next picture:
Blending Options>Gradient Overlay:

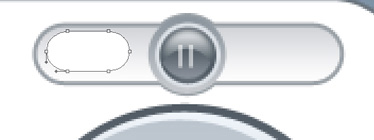
The Shuttle is also finished. Next we have to represent the Play and Pause buttons. Select for this operation the Rounded Rectangle Tool (U) with 30 px radius and represent the figure from below. Press on the Shift button and make a circle on the central part with the Ellipse Tool (U).

Blending Options>Gradient Overlay:

Blending Options>Stroke:

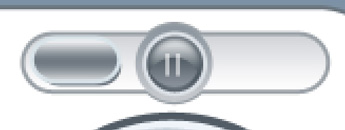
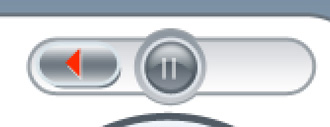
Select one of the buttons we already have and make a copy of it the same way it is demonstrated below. Insert two small stripes. It will compose the Pause button.

Represent one more button with the Rounded Rectangle Tool (U) on the left side of the previous made one.
Blending Options>Gradient Overlay:
Blending Options>Drop Shadow:

Blending Options>Stroke:
Choose now the Pen Tool (P). Insert three points, colored with #FF2A00 the way it is shown next picture.
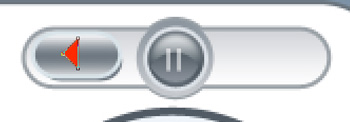
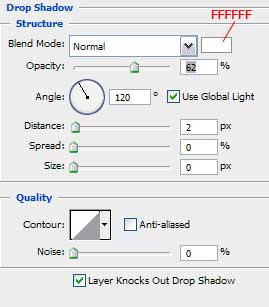
Blending Options>Drop Shadow:
Make a copy of this layer and turn the button over horizontally:

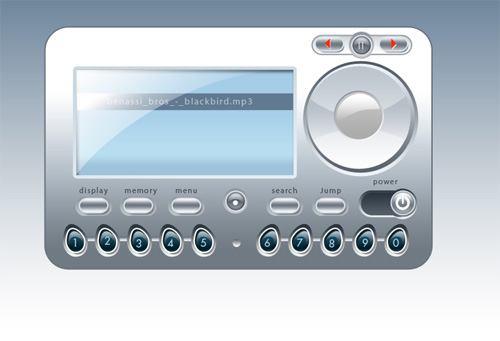
Insert the inscriptions and the representing the player came to end!
The last thing we need to do is the reflection. We need to make copies of all the layers the player is composed of and put them together, Free Transform> Flip Vertical and vector mask. After that we’ll select the Gradient Tool (G), choosing before this the mask:

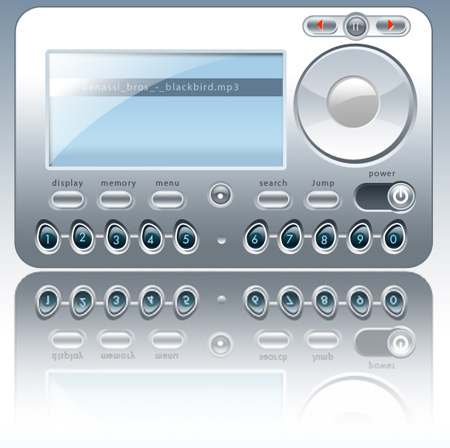
Working with the player is finished! Wish you good luck and more success with the inspiration!
[Adobe Tutorialz]
No comments:
Post a Comment